Table of Contents
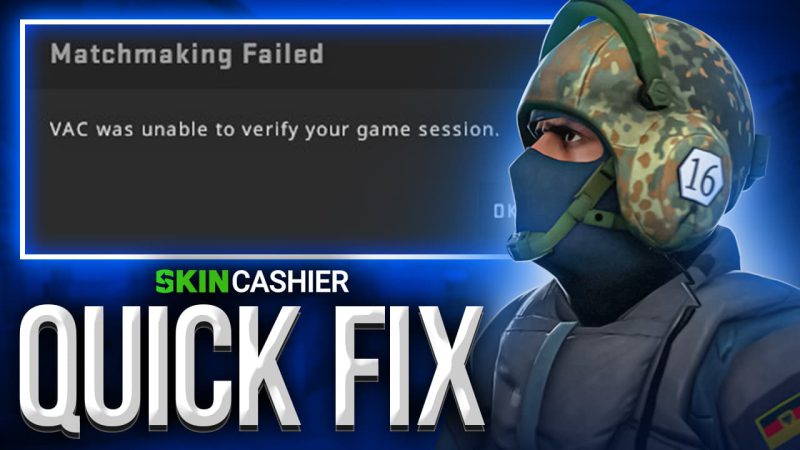
If you are here, it means that you have likely received the VAC error stating that it was unable to verify the game session. Don’t be alarmed, this is a very common issue, and it can be caused by many things, however, fixing it is very easy. Another popular CSGO issue is the CSGO Mic Issue which we have covered in a separate article. Regardless, let’s take a closer look at the VAC matter, what causes it, as well as the potential solutions.
What does it mean when VAC was unable to verify your game session?
This means that the VAC (Valve Anti-Cheat System) has detected some anomalies within the installation file of your game, in our case, CSGO. While this feature is meant to stop players from modifying and messing around with file of the game, however, the system can come to a false tampering report from time to time, even when there was no tampering done, which causes the vac was unable to verify the game session message to appear.
How to Fix VAC Authentication Error in 2021?
Since the widespread of the “vac was unable to verify your game session” message, numerous threads on various websites have suggested different things on how to potentially solve this issue. In order to help you out with this Counter-Strike: Global Offensive VAC error, we have compiled a list of all potential fixes for it, as well as detailed guides for each of them.
Verify Integrity of Game Files and Restart PC
When faced with the “vac was unable to verify your game session” message, the first thing that you can attempt to do in order to fix this game session error is to verify the integrity of game files which may sound complicated, but is in fact extremely easy to do.
The first step in performing this fix is to open up your Steam and head to the Library tab which is located on the left side on top of your Steam window. Once you are in your Steam library, find Counter-Strike Global Offensive, right-click on it and then left-click on “Properties”.
Once you locate the Counter-Strike Global Offensive and select properties, click on the local files tab and then click: “Verify Integrity of Game Files” button. Wait for the popup menu to close, then restart your computer. After the restart, run CSGO again and see if the problem is fixed.
Repair the Steam Client
Another fix that you can attempt if the first one doesn’t work, is to repair the Steam client which is also what Valve officially recommends doing. This is a very easy fix that you can apply and the first thing you need to do when applying it is close your Steam client. To close the Steam client right-click on the Steam icon in your system tray and then click “Exit”.
Once this is done, open your Start menu and type in “run”. Once the run app is selected, press “Enter” to open it and then enter the following command: “C:Program Files x86SteambinSteamService .exe” /repair. This will launch an empty command prompt terminal. Once the command prompt terminal closes, open Steam and check if the fix worked. If the matter still persists and the game session error keeps appearing, try the next fix on the list.
Exclude the CSGO Game Directory from Antivirus Scans
One more thing that could be causing the “vac was unable to verify your game session” message is the antivirus that could be running in the background. If in fact your antivirus software is running in the background and is scanning your CSGO game files, it could be making VAC unable to verify the game files, which would cause you to see the game session error whenever when you try to launch CSGO on your computer. To prevent this, you can whitelist the CSGO local files in your antivirus settings. The exact way of fixing this problem via this method may vary depending on the antivirus that you are using.
Verify DLL File
If any of the previous fixes mentioned above did not solve the issue, fear not because we still have a couple of potential fixes for the problem, so let’s take a look at the next one which will require you to verify the DLL file.
To use this method, first, find and open your Steam installation folder which by default is C>Program Files (x86)> Steam > Bin. When you open it, locate a file called “Steamservice.dll”, right-click it, and click copy. Afterward, go to C>Program Files (x86)>Common Files> Steam, right-click, and then click “Paste” to paste the file that you have just copied. Your windows might prompt you an error message stating that the file already exists. Simply click “Replace”. Once all of this is done, try launching the game and see if the problem persists. If so, see our next CSGO fix.
Delete Temporary Files
During use, the Windows on your PC tends to store files for later use, and sometimes, those files can become corrupt which can cause this problem to occur. An easy fix for this issue is to simply delete temporary files. Start by opening the Run command by pressing “Windows + R” and type in “%temp%”. Press “Enter” or click the OK button. A large list will appear. Select all items on it by pressing Ctrl + A and then remove them by pressing Shift + Delete. Click yes in the pop-up menu. Reboot your windows and launch Steam again to check if the problem is fixed.
Update Your Drivers
Another common reason why CSGO won’t run properly could be the drivers on your computer. To fix this, you are going to need some third-party driver detecting software like Auslogics Driver Updater so the first thing you need to do is download it and install it on your PC. Once this is done, the program will automatically open and scan your PC for drivers and any update that is available. Afterward, you can run a scan for any bad drivers, just press the “Scan now” button. Click the “Update” button next to the faulty drivers to update each of them or simply press the “Update all” button. Restart your computer after the program finishes.
Completely Reinstall CSGO
If the verify game fix, bin steamservice exe repair fix, and every other attempt to fix VAC error fail, then your final option is to completely reinstall CSGO on your computer. To do this, open Steam and head to your game library, right-click on CSGO, and click “Uninstall”.A new window will pop up, click “Delete”. Now you have completely removed CSGO from your computer and you can install it again from your game library, just restart your PC before you do so.
Summary
This article focus on discussing the appearance of the “vac was unable to verify your game session” message upon launching CSGO, as well as potential reasons that could be causing an issue and this error message to appear. Furthermore, the article will also cover numerous things that you can try to fix this game session error, as well as provide you detailed guides on each of them.